
Hey adventurer! A while ago I wrote a blog post about setting up redirects in Squarespace. It’s only fair that now I talk about WordPress. In short, a redirect is a setup that moves traffic from one page to another, whether the original page was deleted or is no longer needed. After all, we can all agree that going to a 404 page not found is extremely annoying.
Table of contents
Types of Redirects
There are different types of redirects, but in this post, I write about two most common and relevant to a website: 301 and 302
301 redirect
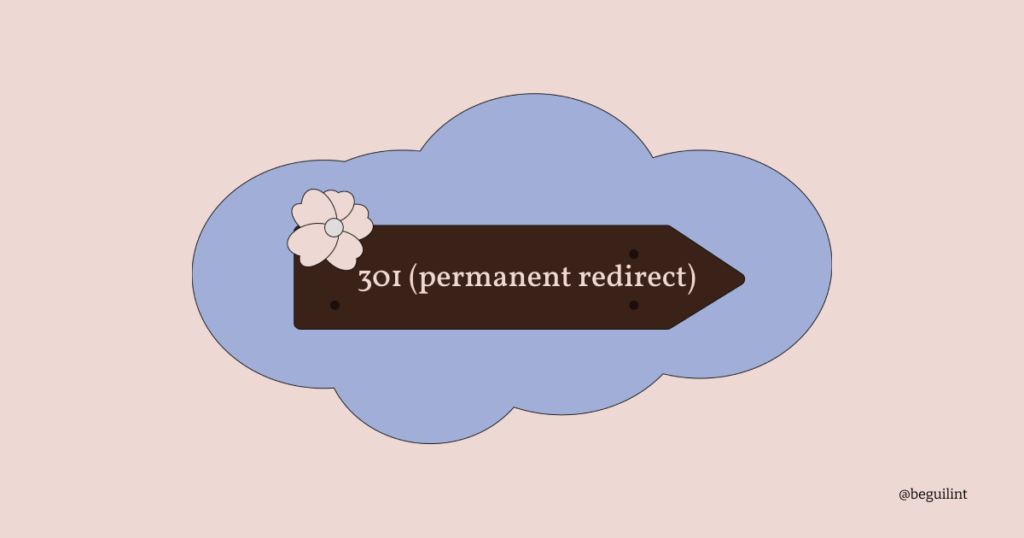
301 redirect lets search engines know that the original page has been permanently moved from one location to another. permanent redirects show new pages in the search results.
When to use a 301 redirect?
- you want to delete a page from your site (remember, in WordPress, removing a category or a tag will remove the page that content is associated with, and if found in search results without a redirect it will go to a 404 not found)
- you want to change your domain
- you decided to change the URL of a page
Whenever you change or delete a URL, any links pointing to that page will be affected. To ensure a good user experience, it’s always best to set up a redirect, that way anyone who clicks on your link still lands in the right place.
302 redirect
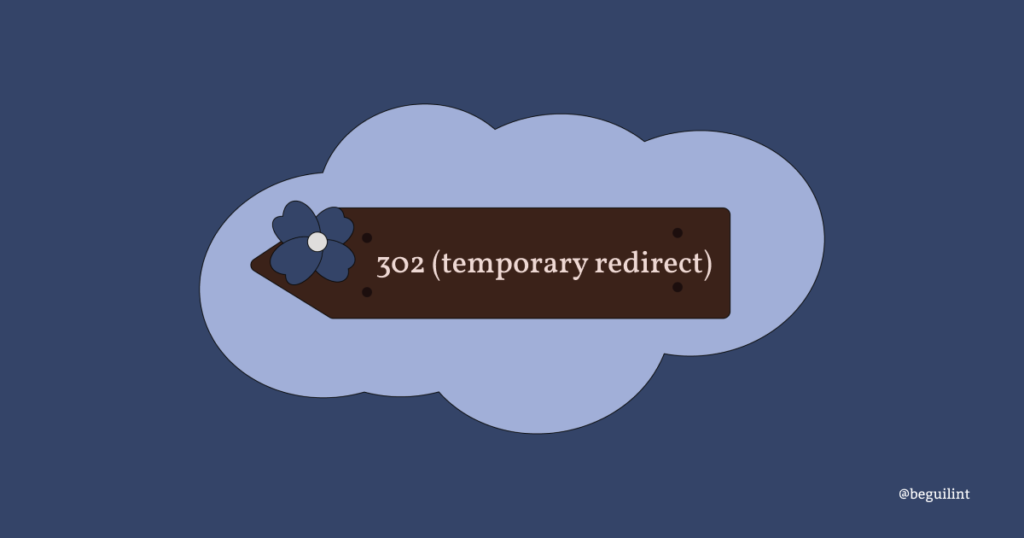
302 redirect lets search engines know that the original page has been moved temporarily and will be back. Search engines won’t update its index, so original page will still be shown in search results.
When to use a 302 redirect?
- you want to make some changes to a page (design, content)
- you are running a limited-time offer and want visitors to be sent to a special page
Redirects and SEO
A 404 page on your website won’t necessarily hurt your search rankings, but it’s definitely frustrating for visitors who click on a broken link. Setting up a redirect ensures they land on the right page instead. Keep in mind, though, that it can take weeks or even months for search engines to update the new page in search results. Good user experience is one of the most important things a website can offer. I recommend using Google Search Console to monitor and manage your website changes.
Redirect in WordPress
The easiest and most convenient way to set up redirects in WordPress is by using plugins. The two most popular plugins for setting up redirects in WordPress are Redirection, with 2 million active installations, and 301 Redirects, with 200,000 active installations.
Add new plugin
You can add a new plugin by logging into your website’s admin panel, clicking Plugins, and clicking Add New Plugin.

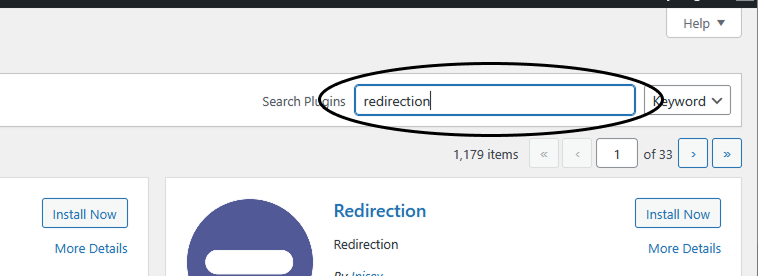
Redirection
Search for Redirection in the search bar.
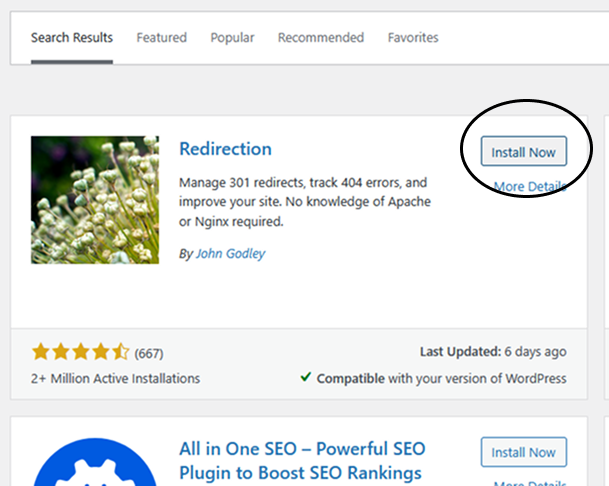
Click Install Now and Activate.
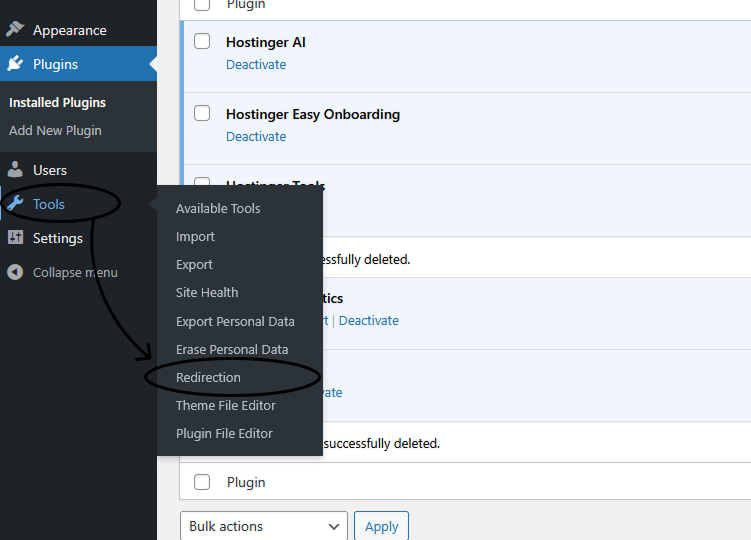
After activation, you add your redirects or access the plugin by going to Tools and clicking Redirection.
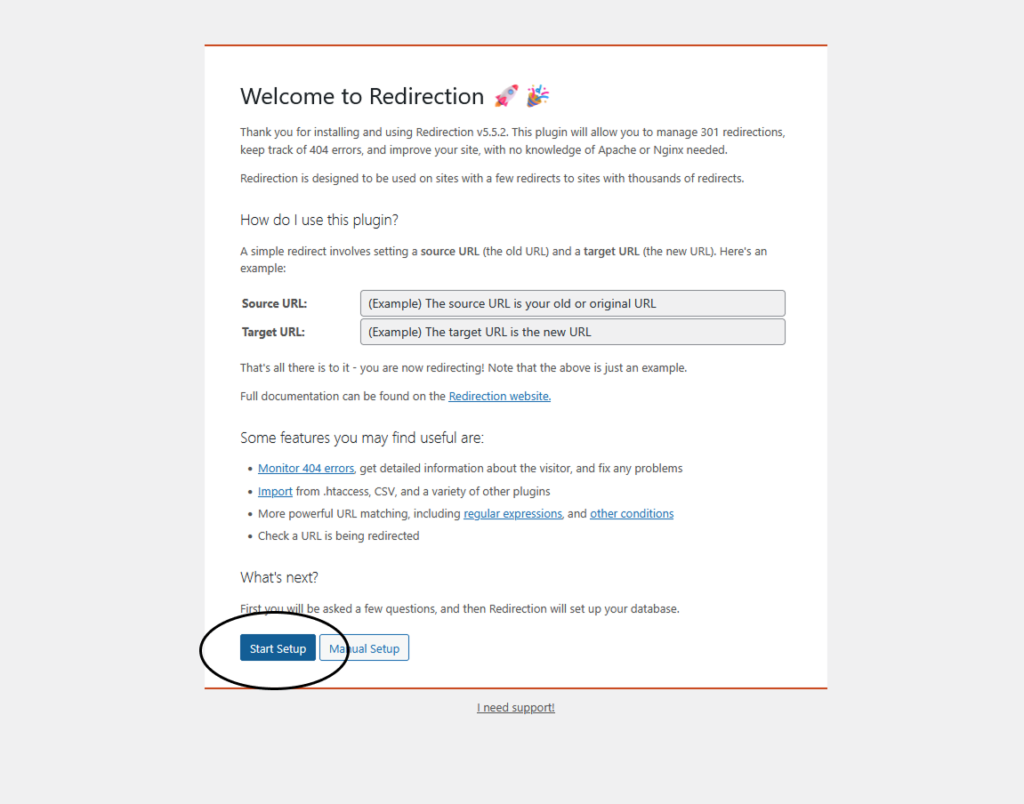
After clinking on Redirection you will be greeted with a setup screen. Press Start Setup.
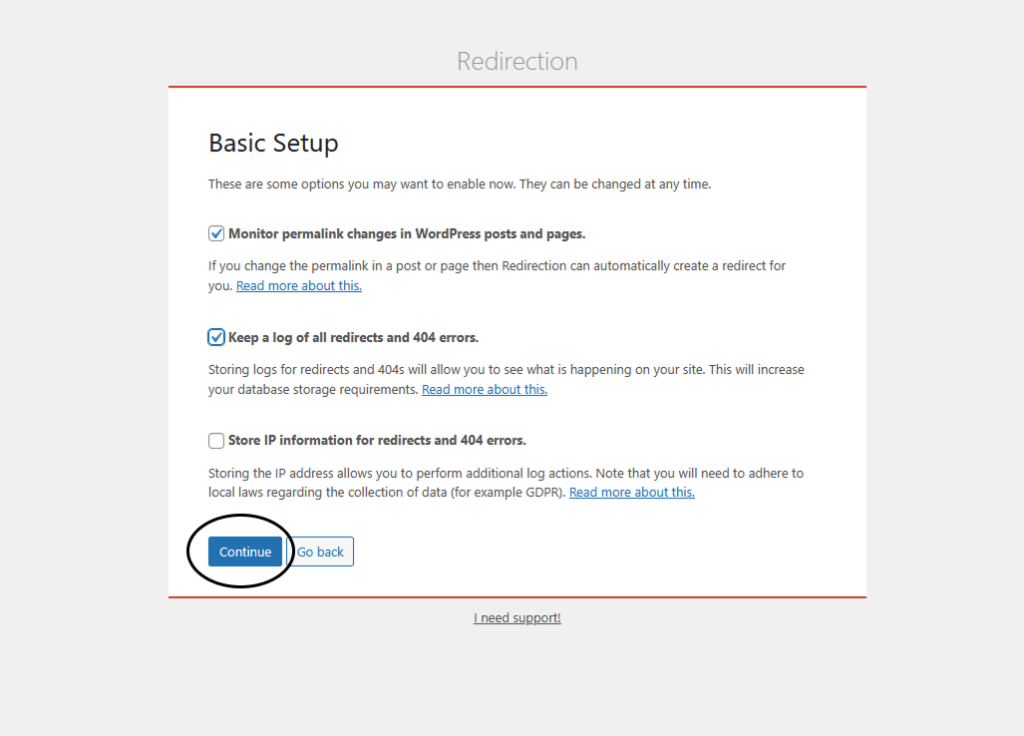
You can choose whether to monitor permalink changes in your website’s posts and pages and whether to log all redirects and 404 errors. Next press Continue.
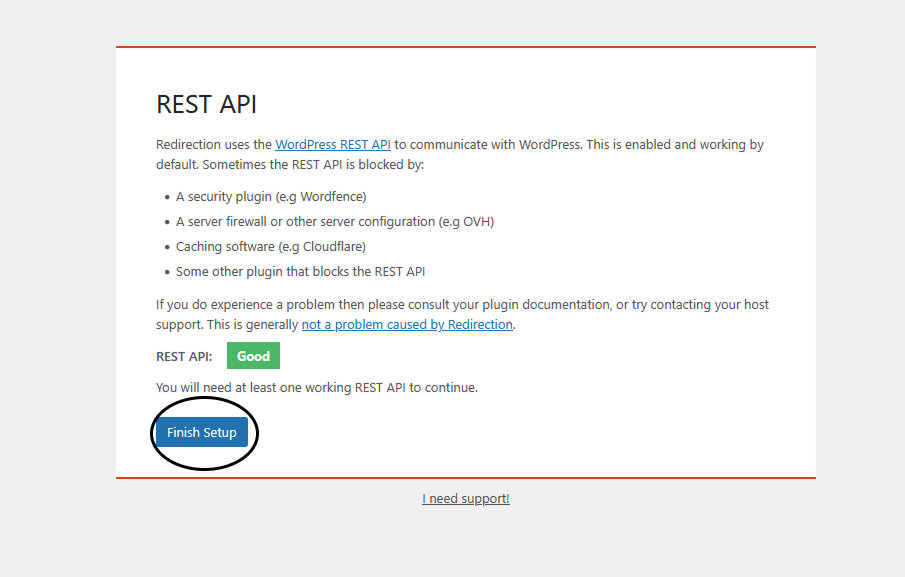
Press Finish Setup.
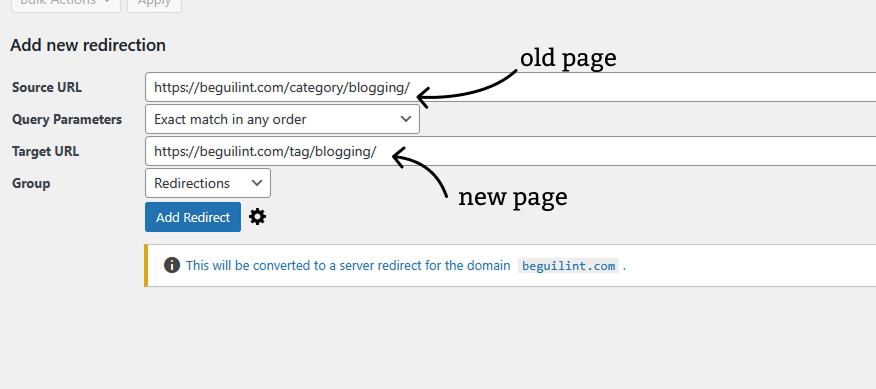
Finally, we can add the redirects. Source URL is the old page/URL you want to redirect from and Target URL is the new page/URL you want to redirect to.
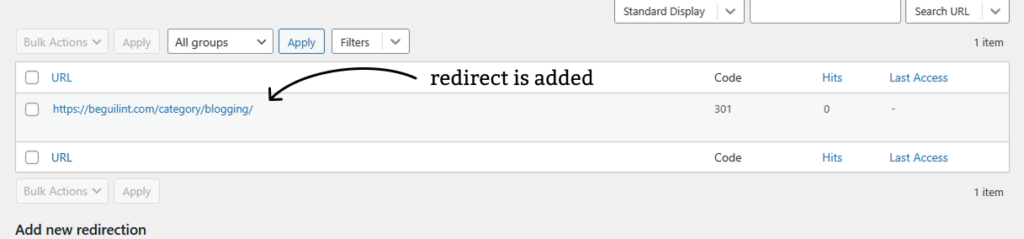
Once you click Add Redirect you can see the list of your redirects in the plugin’s home screen.
301 Redirects
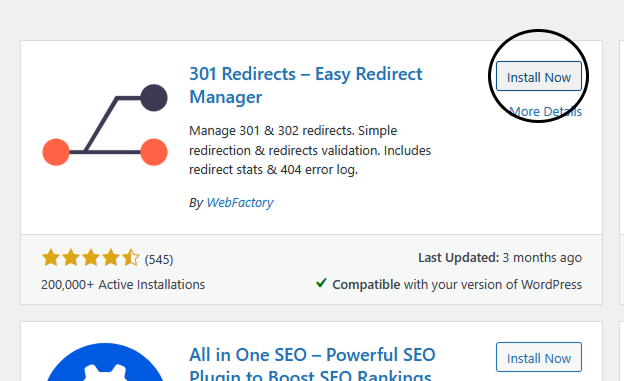
Search for 301 Redirects in the search bar.

Press Install Now and then Activate.
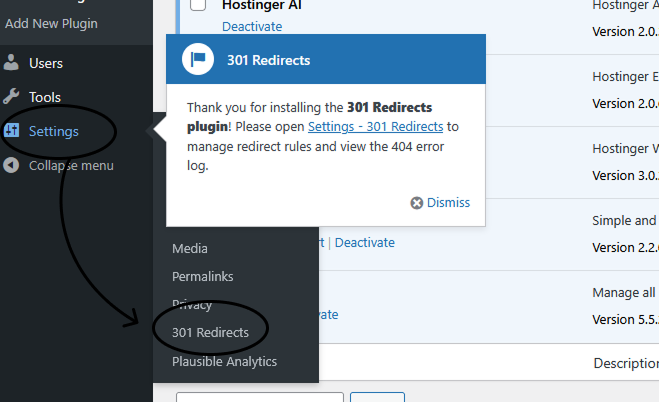
You can access the plugin by going to Settings and clicking on 301 Redirects.
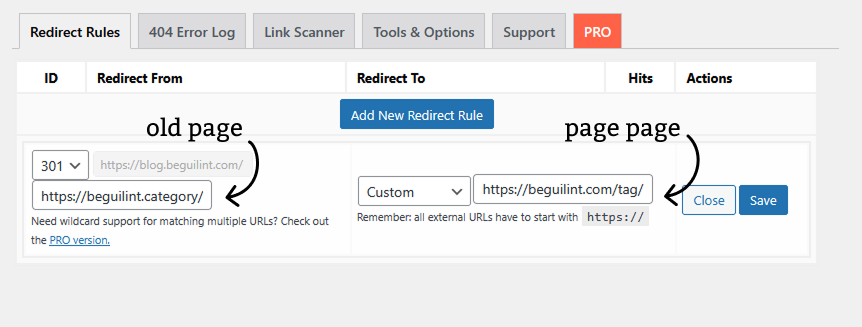
Redirect From is the old page/URL and Redirect TO is the new page/URL. Press Save.
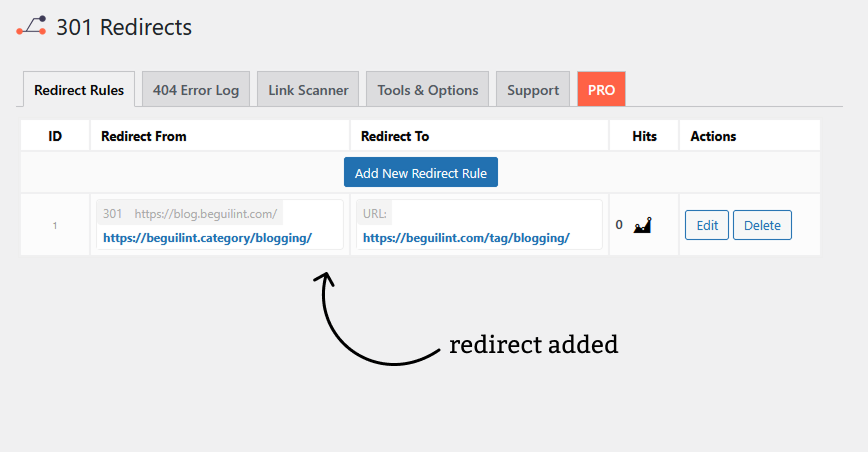
Once your redirect is added, you will see the list of redirects on the plugin’s home screen.
Now you are all set for your redirection adventures! : )