
Hey adventurer! I think Google Search Console is one of the best free tools available for anyone who is maintaining a website. Is it mandatory? No. But it’s a cool tool to use if you want to know more about your website’s online presence.
Table of contents
What is Google Search Console?
Google Search Console is a free service that lets you monitor, take care of and troubleshoot your website in Google search results. Your website will be in search results either way, it doesn’t matter if you make a Google Search Console account or not. Making it, however, will make it easier for you to gather information about your blog.
How to set up a Google Search Console account?
First set up a Google Search Console account.
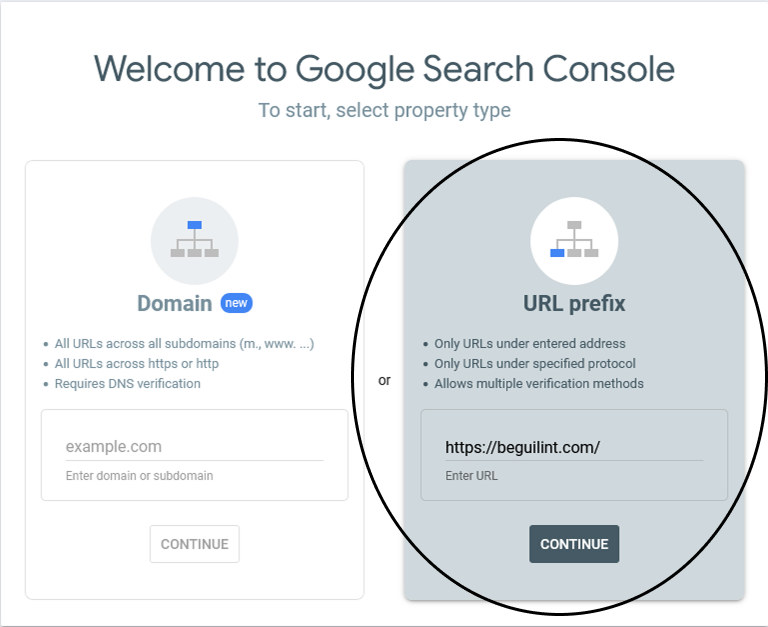
Add URL prefix property
Choose how you want to verify your website’s ownership. In this post I am talking about how I added my blog to Google Search Console and I added my website with URL prefix path.
Add your website’s URL into the field. My blog’s URL is “https://beguilint.com/“.
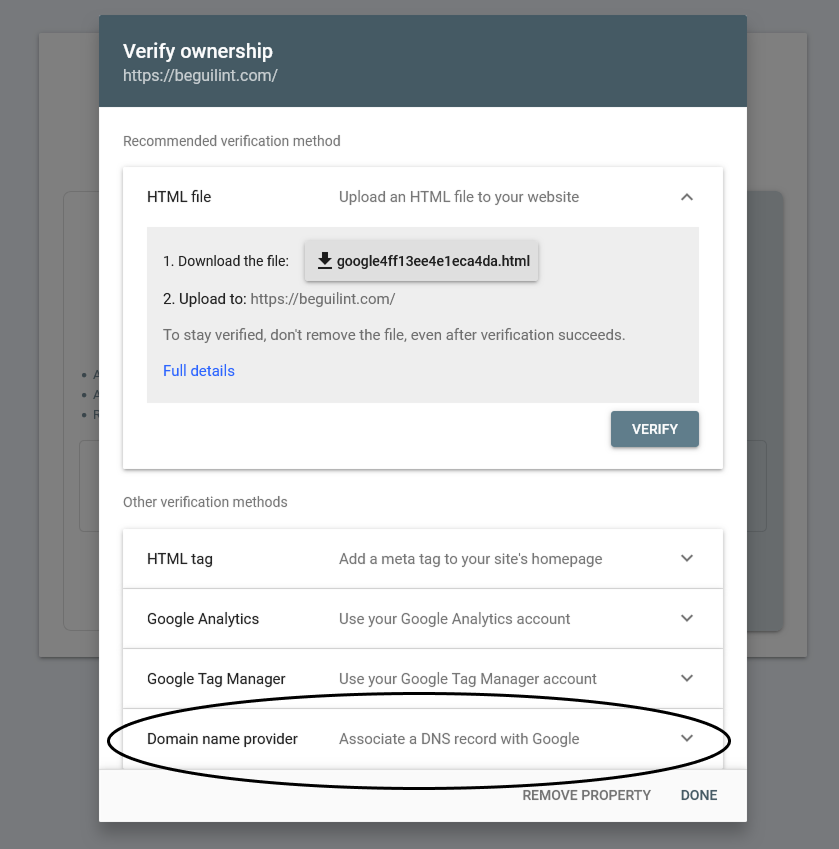
Next, you’ll see a list of options to verify your ownership. For WordPress sites, the simplest method is using a domain name provider. If you’re using Squarespace with a Business plan, adding an HTML tag to your site’s header is a quick and easy option. That said, verifying through your domain name provider works just as effortlessly.
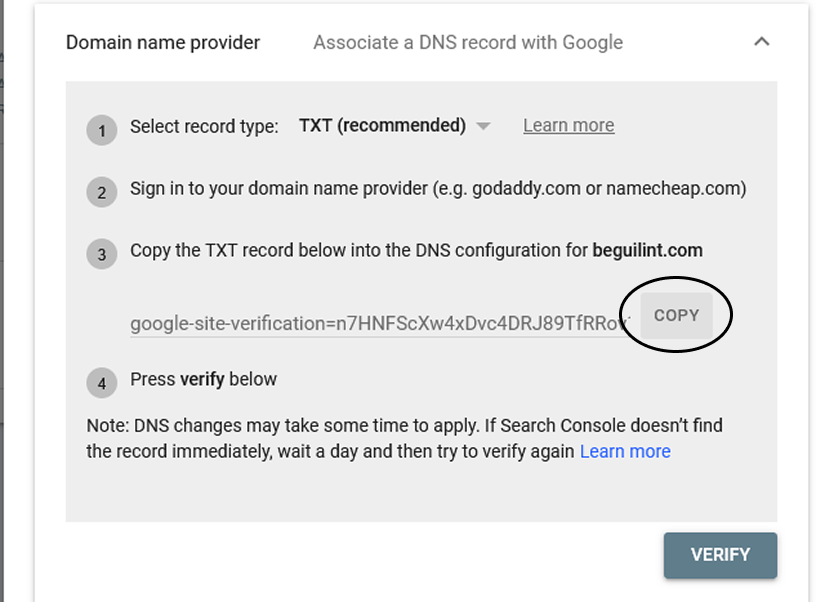
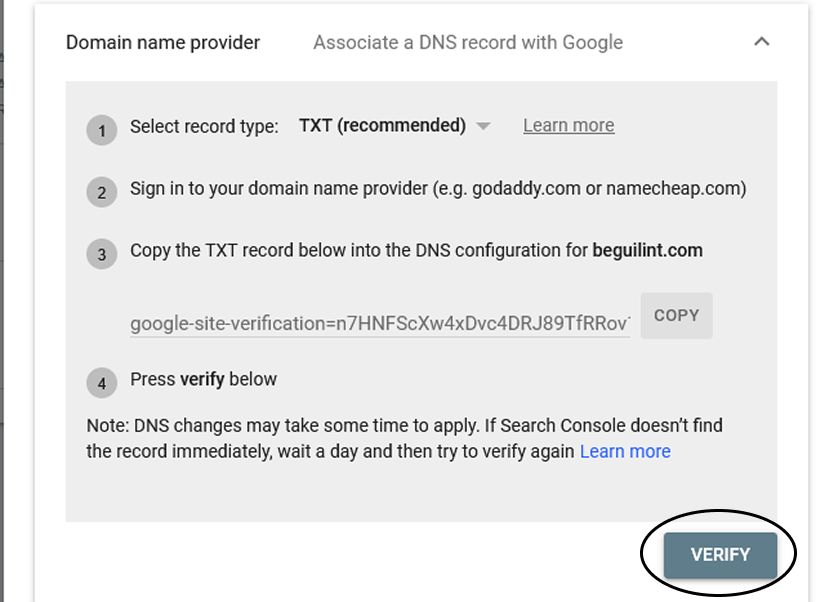
After clicking on Domain name provider click Copy to copy TXT value.
In this post I talk about adding Google Search Console property with WordPress and Squarespace.
Follow this guide for WordPress and this guide for Squarespace.
WordPress
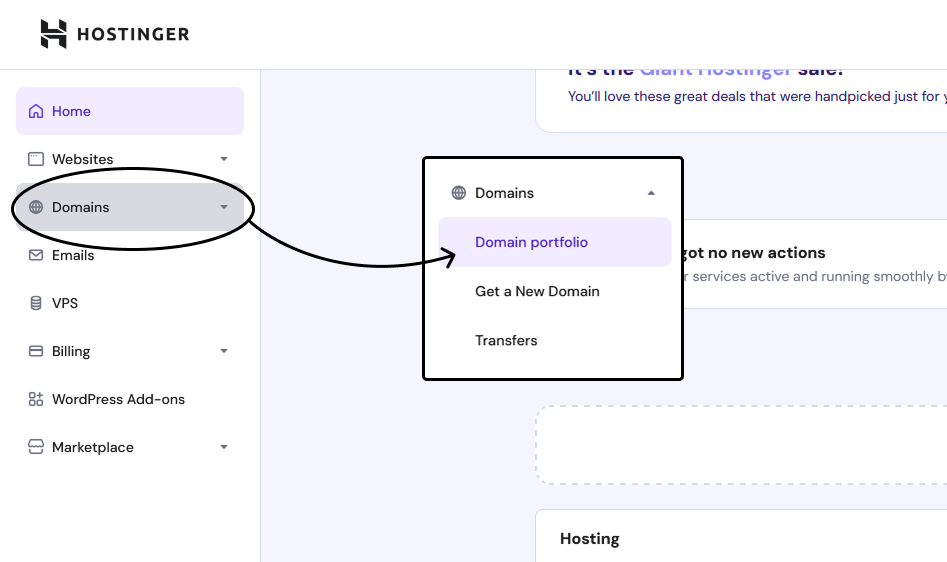
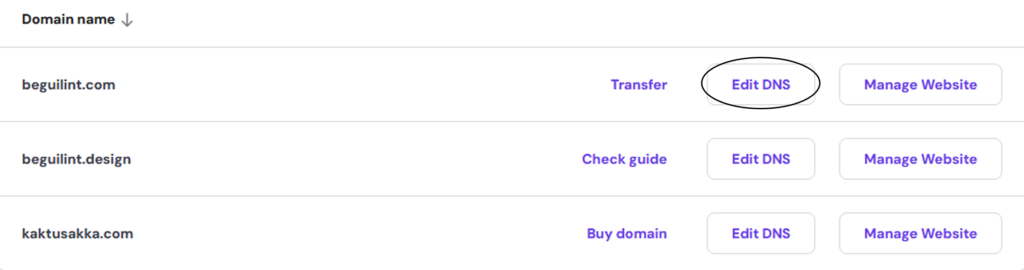
To update your website’s DNS records you will need to log into your web hosting account. In my case I use Hostinger. The process is similar in all web hosting providers. Start with your account’s dashboard. Next, you need to find Domains tab and click on Domain portfolio.
Choose the domain you want to add to Google Search Console and click Edit DNS
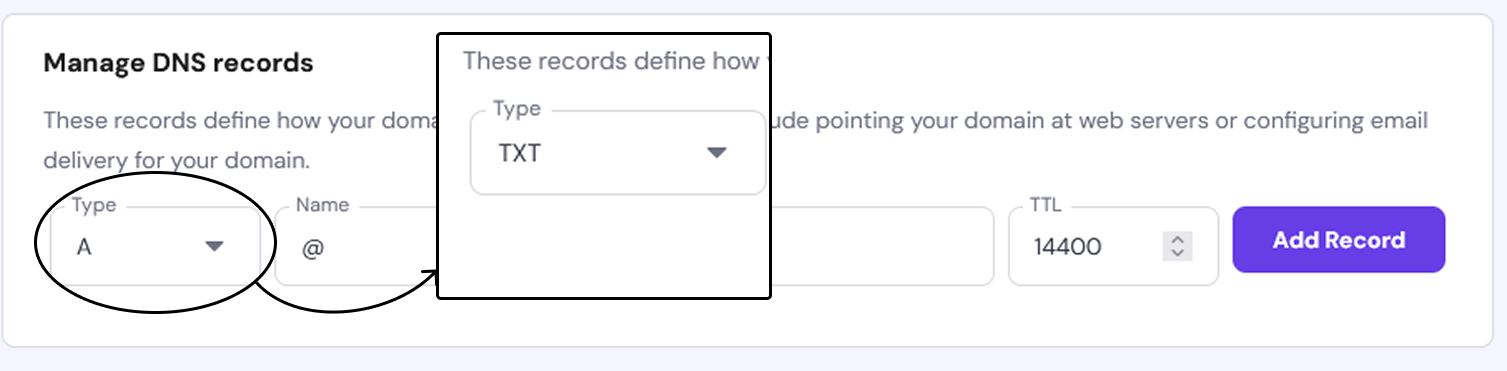
When the DNS record screen opens change the type of the record to TXT.
Input the value you copied from the Google Search Console into the TXT value field.
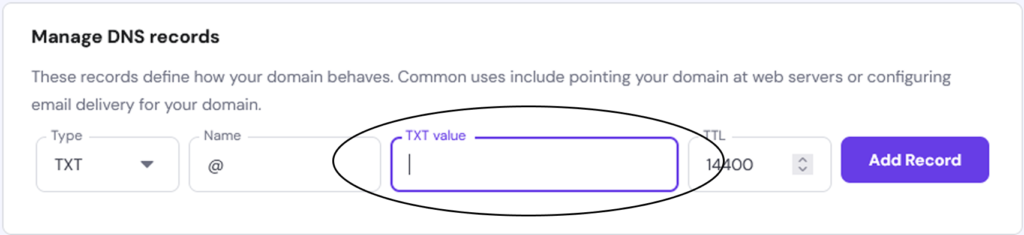
After adding the value click Add Record
Then go back to Google Search Console and click Verify
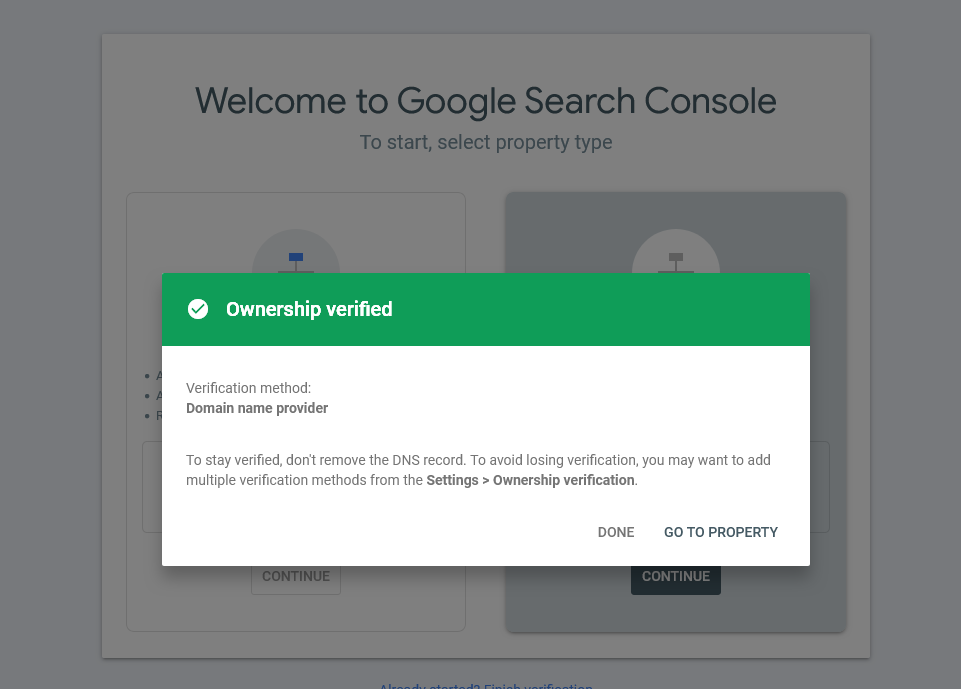
Once the ownership is verified you will get this screen : )
Click here to skip to Uploading a sitemap to Google Search Console.
Squarespace
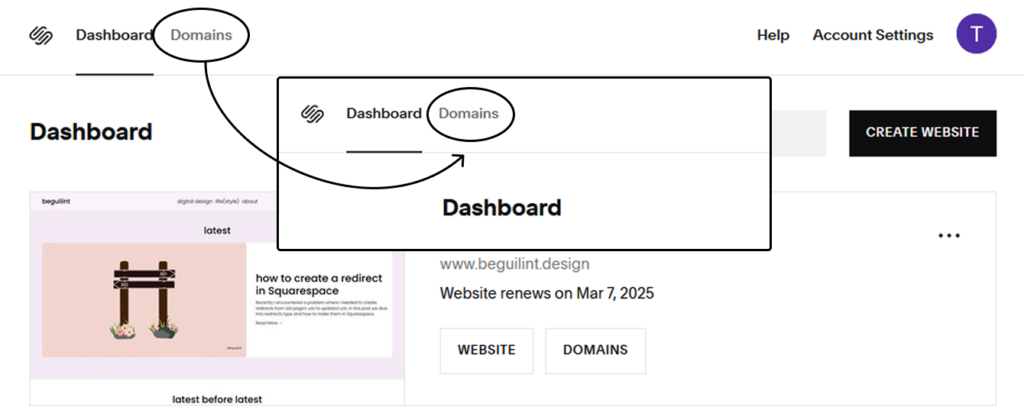
To update your website’s DNS records, you will need to log into your Squarespace Dashboard. There are a couple of ways to get to the DNS settings but the easiest one is through the Dashboard.
Once logged in click on the Domains tab at the top left corner.
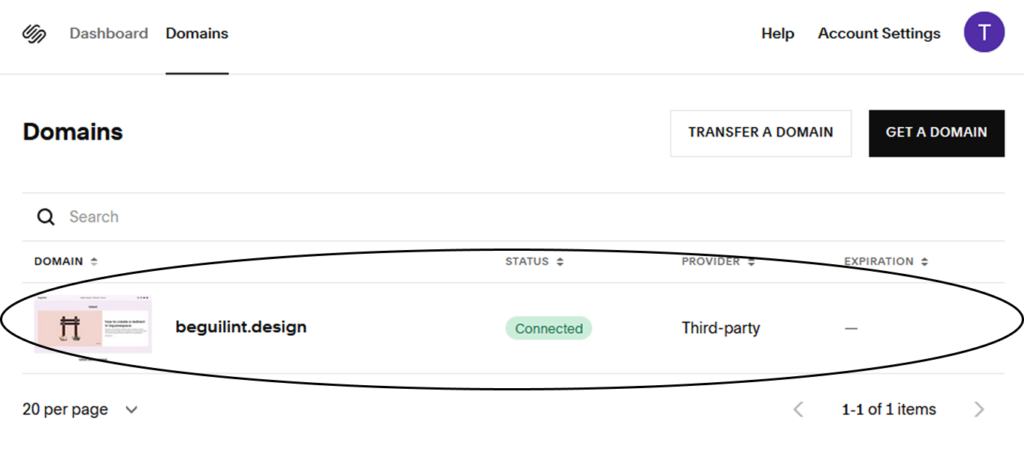
You will be transferred to the Domains tab and click on the domain you want to connect to Google Search Console (in case you have more than one).
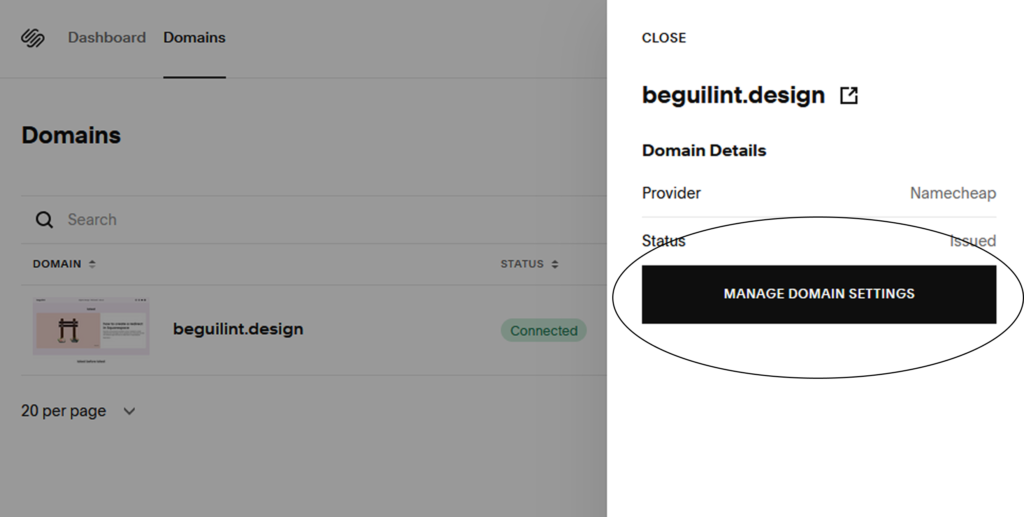
Next, click on Manage Domain Settings
Finally, we arrive at the DNS Settings
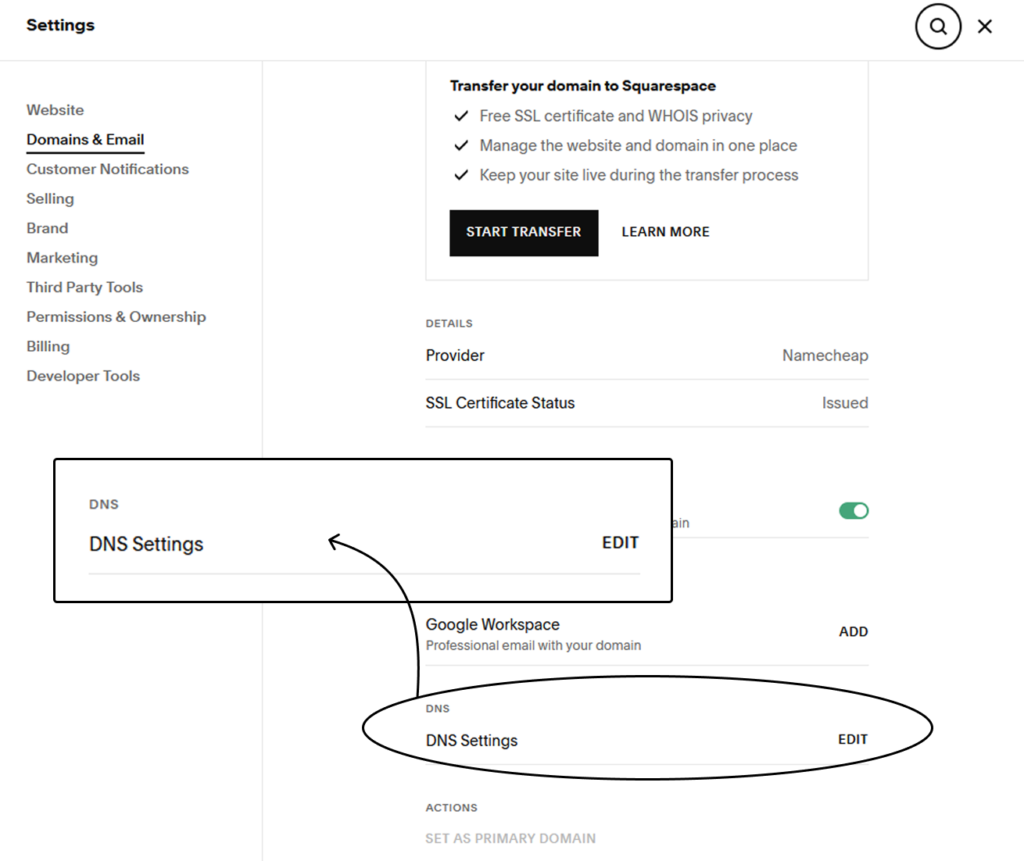
Once DNS settings are opened, click on the Add Record next to Custom Records section
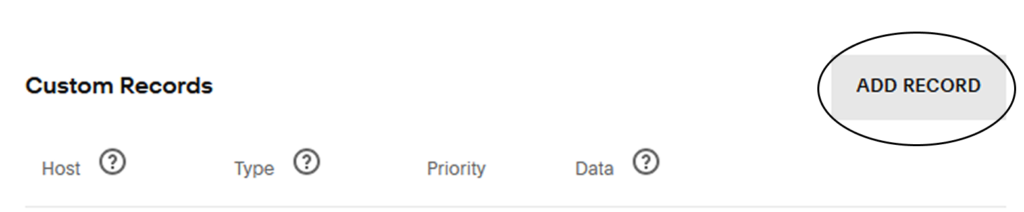
You will see this field

In the Host field type @, change Type to TXT and then add the value you copied from your Google Search Console into the Text field. Finally click Save.

Then go back to Google Search Console and click Verify
Once the ownership is verified you will get this screen : )
Uploading a sitemap to Google Search Console
Perhaps one of the most important first steps after setting up your account is to upload a sitemap. Eventually, pages on your website will be indexed anyway, but adding the sitemap will speed up the process.
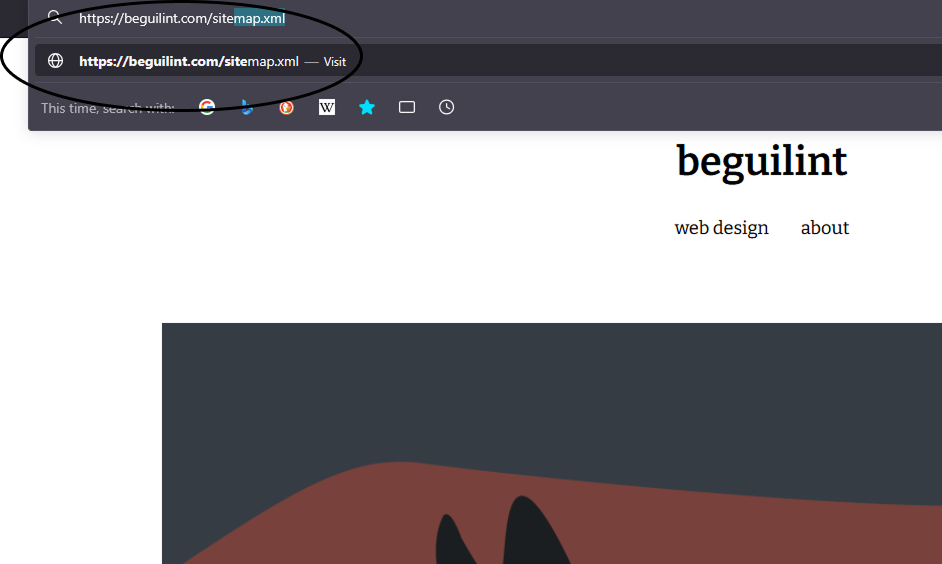
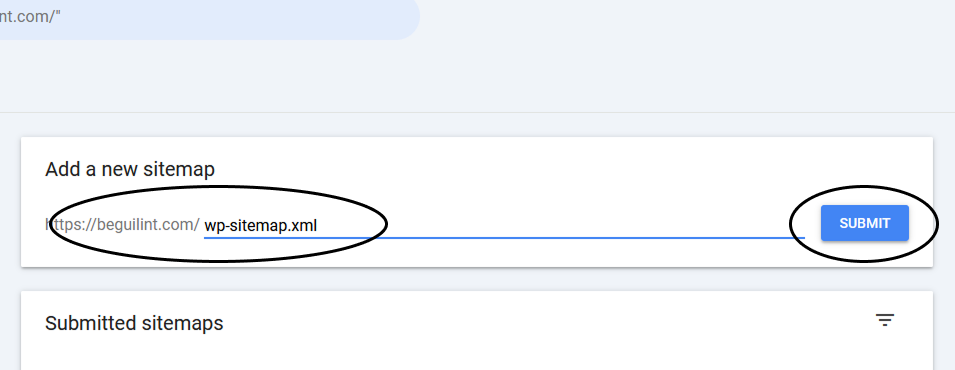
To find your sitemap in a WordPress and Squarespace site add /sitemap.xml to the end of your website’s url.
In Google Search Console click on Sitemaps
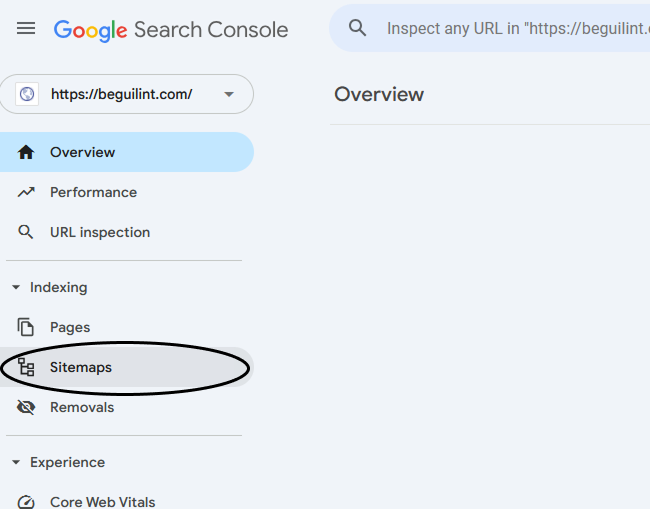
After adding link to your sitemap click Submit
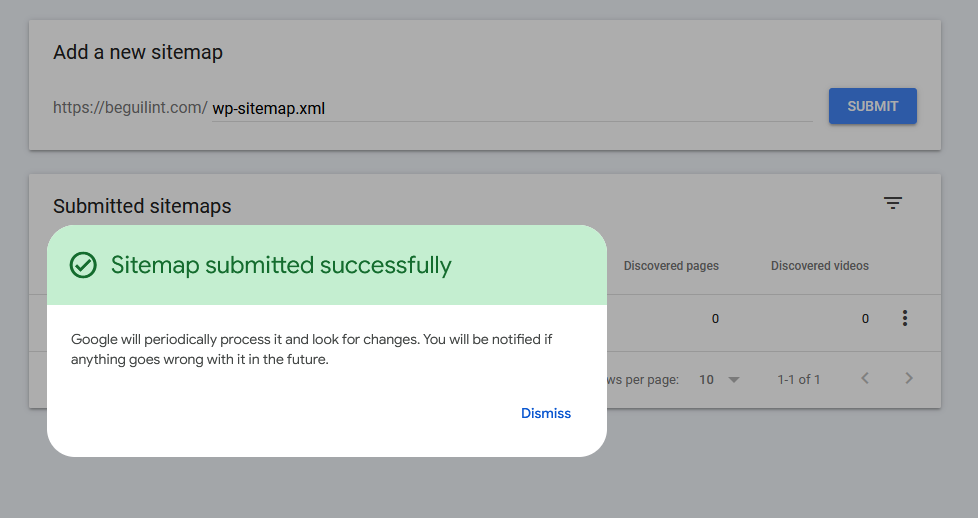
The sitemap is added successfully.
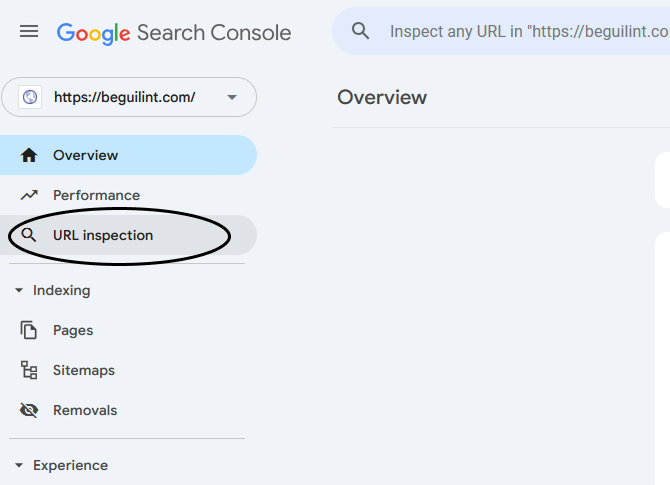
URL inspection
If you want to check if your website or your blog post has been already indexed by Google you can click on URL inspection tool and insert your URL into the search box.
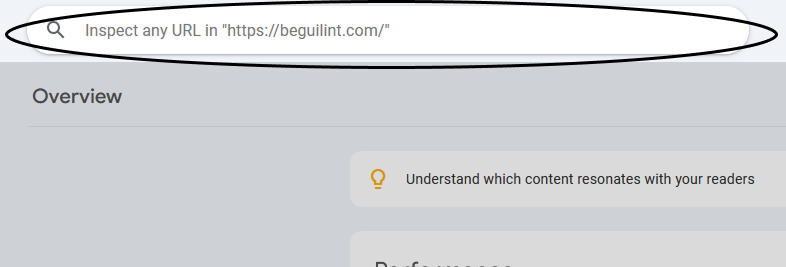
The results will be given after you click enter. In this example, the URL has already been indexed.
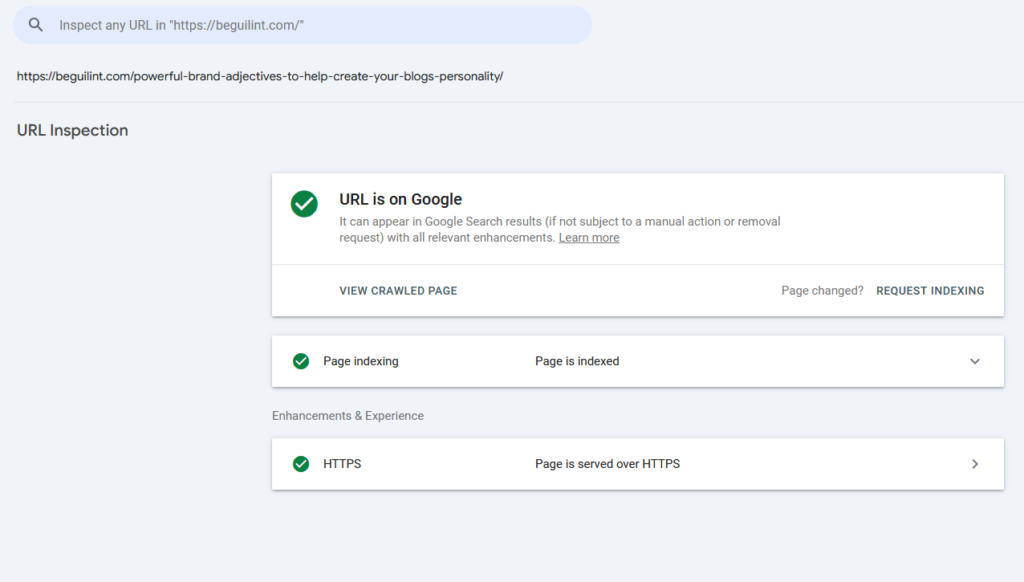
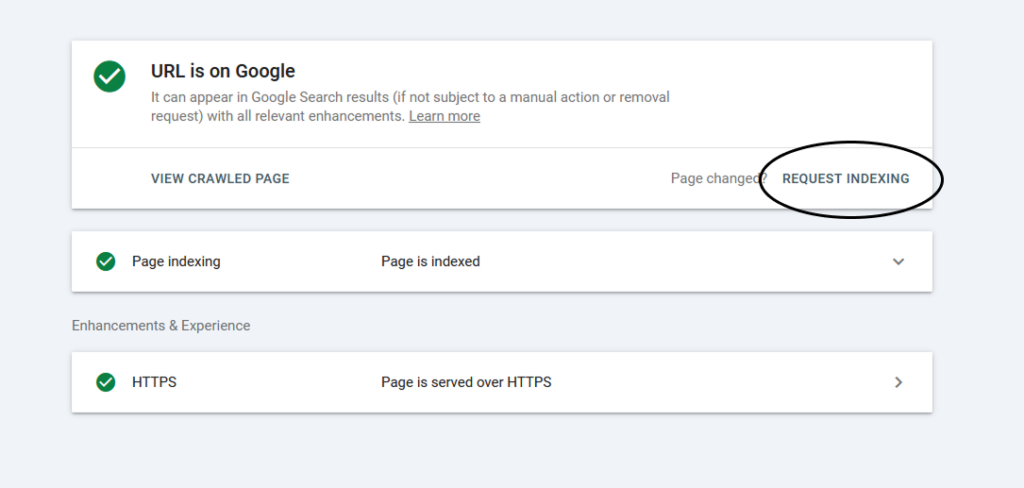
However, if the URL is not on Google, you can click Request Indexing.
You are all set for your next adventure!